
序言:对于商品的上传,我们大多数都是在PC端的后台,因为这样管理起来更加的方便也高效,但就是有一些客户的需求是想要在手机端实现简单的上传,那么此时就需要用到一款富文本编辑器,恰好小程序表单组件中就自带editor富文本编辑器,让我们一块来学习一下吧。
要是对大家有帮助的话麻烦给点赞转发一下。
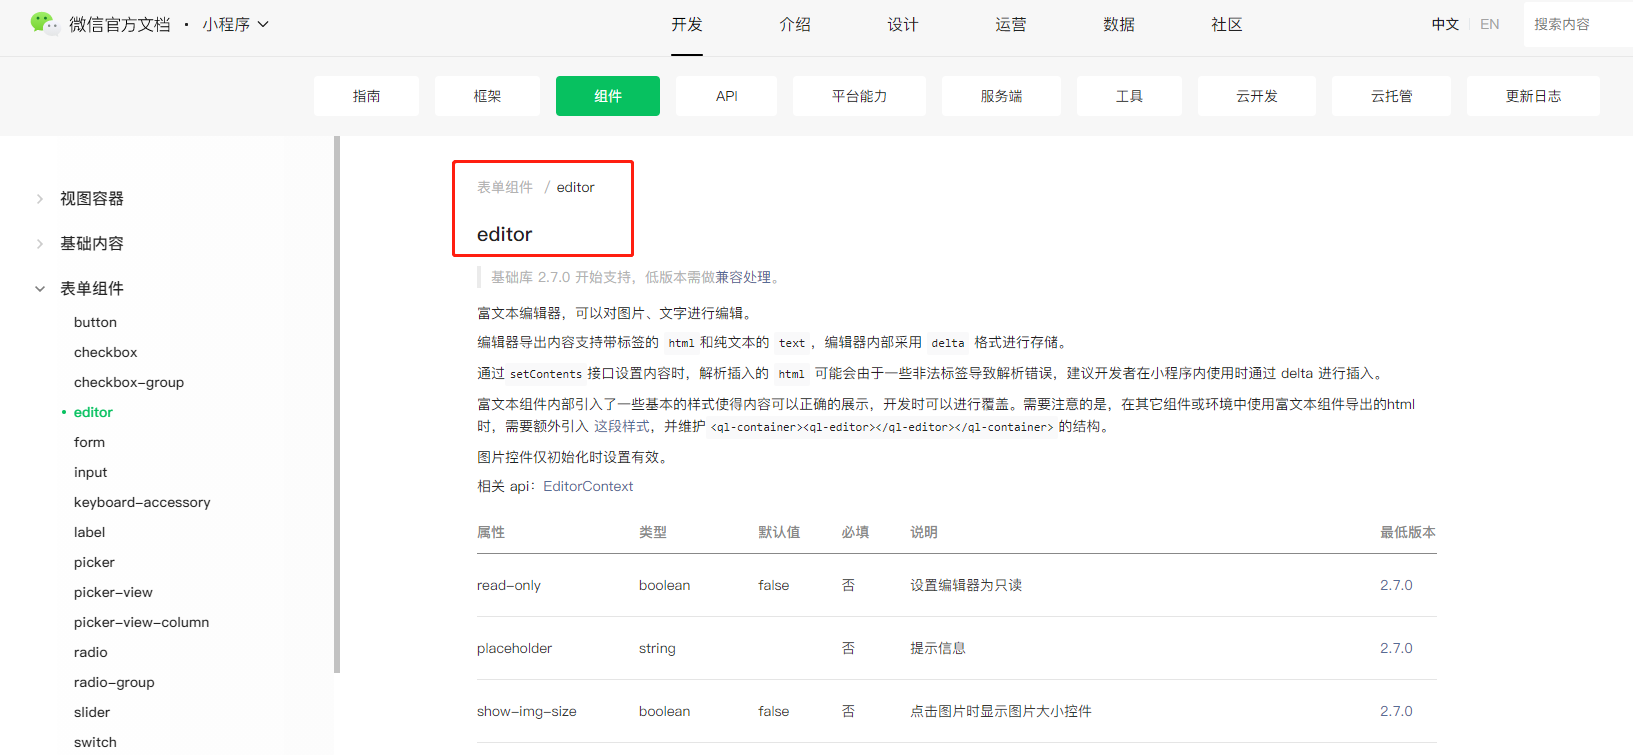
功能介绍
文档地址:https://developers.weixin.qq.com/miniprogram/dev/component/editor.html

集成之后的页面:

代码使用
wxml:
<view class="container" style="height:{{editorHeight}}px;">
  <editor id="editor" class="ql-container" placeholder="{{placeholder}}" bindstatuschange="onStatusChange" bindready="onEditorReady">
  </editor>
</view>

<view class="toolbar" catchtouchend="format" hidden="{{keyboardHeight > 0 ? false : true}}" style="bottom: {{isIOS ? keyboardHeight : 0}}px">
  <i class="iconfont icon-charutupian" catchtouchend="insertImage"></i>
  <i class="iconfont icon-format-header-2 {{formats.header === 2 ? 'ql-active' : ''}}" >wxss:</p><pre><code>@import "../common/lib/weui.wxss";
@import "./assets/iconfont.wxss";

.container {
  position: absolute;
  top: 0;
  left: 0;
  width: 100%;
}

.ql-container {
  box-sizing: border-box;
  width: 100%;
  height: 100%;
  font-size: 16px;
  line-height: 1.5;
  overflow: auto;
  padding: 10px 10px 20px 10px;
  border: 1px solid #ECECEC;
}

.ql-active {
  color: #22C704;
}

.iconfont {
  display: inline-block;
  width: 30px;
  height: 30px;
  cursor: pointer;
  font-size: 20px;
}

.toolbar {
  box-sizing: border-box;
  padding: 0 10px;
  height: 50px;
  width: 100%;
  position: fixed;
  left: 0;
  right: 100%;
  bottom: 0;
  display: flex;
  align-items: center;
  justify-content: space-between;
  border: 1px solid #ECECEC;
  border-left: none;
  border-right: none;
}
css引用的两处外链在文章最后面我会给出下载地址。
js:
Page({
  data: {
    formats: {},
    readOnly: false,
    placeholder: '开始输入...',
    editorHeight: 300,
    keyboardHeight: 0,
    isIOS: false
  },
  readOnlyChange() {
    this.setData({
      readOnly: !this.data.readOnly
    })
  },
  onLoad() {
    const platform = wx.getSystemInfoSync().platform
    const isIOS = platform === 'ios'
    this.setData({ isIOS})
    const that = this
    this.updatePosition(0)
    let keyboardHeight = 0
    wx.onKeyboardHeightChange(res => {
      if (res.height === keyboardHeight) return
      const duration = res.height > 0 ? res.duration * 1000 : 0
      keyboardHeight = res.height
      setTimeout(() => {
        wx.pageScrollTo({
          scrollTop: 0,
          success() {
            that.updatePosition(keyboardHeight)
            that.editorCtx.scrollIntoView()
          }
        })
      }, duration)

    })
  },
  updatePosition(keyboardHeight) {
    const toolbarHeight = 50
    const { windowHeight, platform } = wx.getSystemInfoSync()
    let editorHeight = keyboardHeight > 0 ? (windowHeight - keyboardHeight - toolbarHeight) : windowHeight
    this.setData({ editorHeight, keyboardHeight })
  },
  calNavigationBarAndStatusBar() {
    const systemInfo = wx.getSystemInfoSync()
    const { statusBarHeight, platform } = systemInfo
    const isIOS = platform === 'ios'
    const navigationBarHeight = isIOS ? 44 : 48
    return statusBarHeight + navigationBarHeight
  },
  onEditorReady() {
    const that = this
    wx.createSelectorQuery().select('#editor').context(function (res) {
      that.editorCtx = res.context
    }).exec()
  },
  blur() {
    this.editorCtx.blur()
  },
  format(e) {
    let { name, value } = e.target.dataset
    if (!name) return
    // console.log('format', name, value)
    this.editorCtx.format(name, value)

  },
  onStatusChange(e) {
    const formats = e.detail
    this.setData({ formats })
  },
  insertDivider() {
    this.editorCtx.insertDivider({
      success: function () {
        console.log('insert divider success')
      }
    })
  },
  clear() {
    this.editorCtx.clear({
      success: function (res) {
        console.log("clear success")
      }
    })
  },
  removeFormat() {
    this.editorCtx.removeFormat()
  },
  insertDate() {
    const date = new Date()
    const formatDate = `${date.getFullYear()}/${date.getMonth() + 1}/${date.getDate()}`
    this.editorCtx.insertText({
      text: formatDate
    })
  },
  insertImage() {
    const that = this
    that.blur();
    wx.showLoading({
      title: '加载中…',
    })
    setTimeout(function(){
      wx.hideLoading();
      wx.chooseImage({
        count: 1,
        success: function (res) {
          that.editorCtx.insertImage({
            src: res.tempFilePaths[0],
            data: {
              id: 'abcd',
              role: 'god'
            },
            width: '80%',
            success: function () {
              console.log('insert image success')
            }
          })
        }
      })
    },500);
  }
})
整体的目录结构:

富文本编辑器在开发者工具上无法演示,必须要运行到手机上才能查看效果。

示例代码:
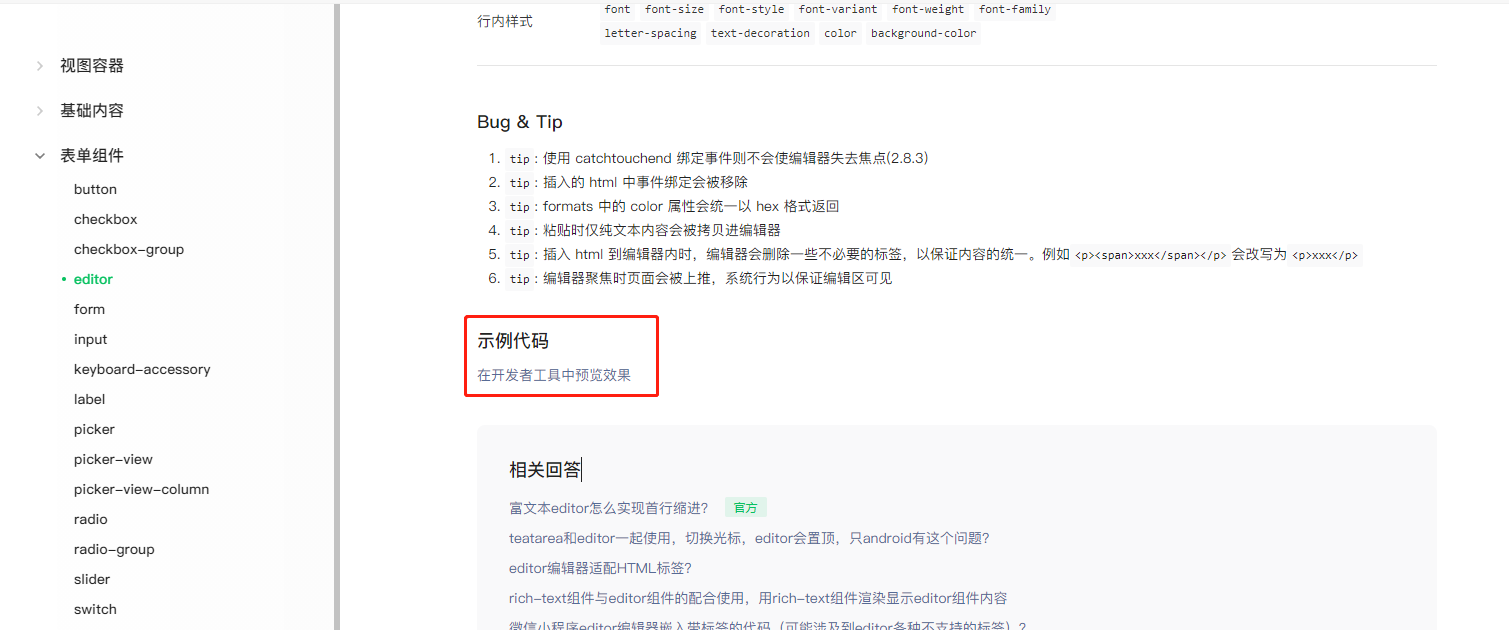
有需要代码的可以通过运行示例代码在开发者工具中获取。
富文本编辑器中的方法api介绍
文档地址:https://developers.weixin.qq.com/miniprogram/dev/api/media/editor/EditorContext.html
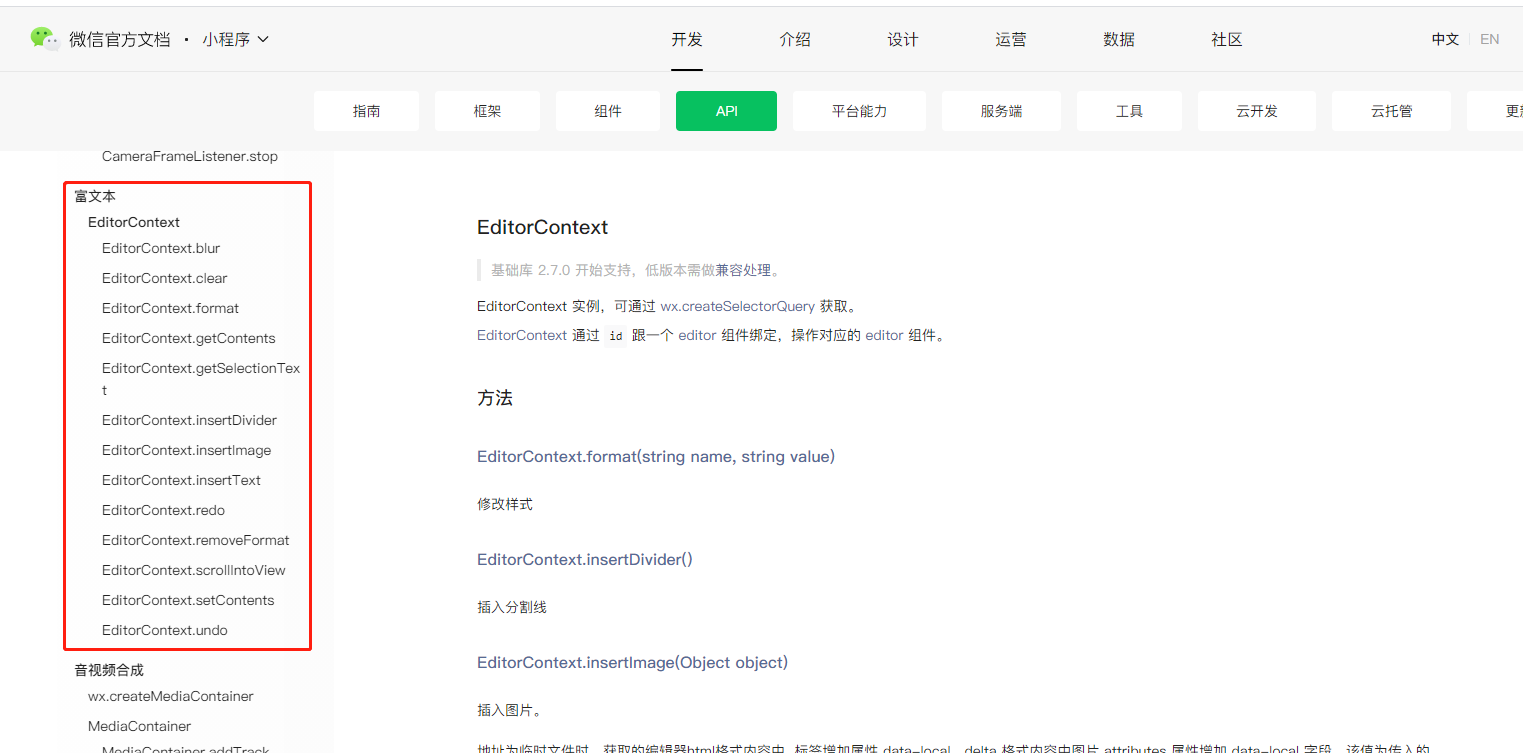
比如如何上传图片、如何设置编辑器的内容、如何获取编辑器的内容等等,其实主要的一点就是要获取编辑器的内容,然后传到后台数据库中。
获取编辑器内容的代码:
that.editorCtx.getContents({
      success(res){
        var description = res['html'];//详情
        wx.request({
          url: HTTP_REQUEST_URL+'/api/user/product_create',
          data: {
          },
          method: 'POST',
          dataType:'json',
          header: header,
          success: function (res) {
            var data = res['data'];
            if(data['code']==200){
            }else{
            }
          },
          fail: function (res) {
          },
        });
      }
    })
总结:
小程序的富文本编辑器可以实现上传图片、文字的基本操作、排序等等功能,对于普通的用户来说,只要能够输入文字、可以上传图片进行排版就能解决基本需求了。
上篇文章我讲到在使用编辑器上传图片是会有样式问题

如果有朋友在使用过程中恰好遇到了此类问题,可以去看下我昨天发的文章。微信小程序内置editor编辑器上传图片wx.chooseImage样式问题
我是小程序软件开发,每天分享开发过程中遇到的知识点,如果对你有帮助的话,帮忙点个赞再走呗,非常感谢。
相关推荐
-
es6到es11(es7与es10)
Array.prototype.includes() includes() 方法用来判断一个数组是否包含一个指定的值,如果包含则返回 true,否则返回 false。 语法 arr.includes(valueToFind[, fromIndex]) valueToFind,需要查找的元素值。 fromIn...
-
基于ijkplayer的播放器(ijkplayer详解使用教程)
0.引言 关于本篇文章的学习,一定要先学习ffplay源码,对ffplay源码的整个流程要理解,才能够理解本篇文章,那就需要参考前面的文章。文章列表如下: 详细介绍ffplay命令(1) FFmpeg的FFplay框架分析 超详细解析FFplay...